🗊 Презентация Exercise session 1

Категория: Технология
Нажмите для полного просмотра!
Exercise session 1, слайд №1 Exercise session 1, слайд №2 Exercise session 1, слайд №3 Exercise session 1, слайд №4 Exercise session 1, слайд №5 Exercise session 1, слайд №6 Exercise session 1, слайд №7 Exercise session 1, слайд №8 Exercise session 1, слайд №9 Exercise session 1, слайд №10 Exercise session 1, слайд №11 Exercise session 1, слайд №12 Exercise session 1, слайд №13 Exercise session 1, слайд №14 Exercise session 1, слайд №15 Exercise session 1, слайд №16 Exercise session 1, слайд №17 Exercise session 1, слайд №18 Exercise session 1, слайд №19 Exercise session 1, слайд №20 Exercise session 1, слайд №21 Exercise session 1, слайд №22 Exercise session 1, слайд №23 Exercise session 1, слайд №24

Вы можете ознакомиться и скачать презентацию на тему Exercise session 1. Доклад-сообщение содержит 24 слайдов. Презентации для любого класса можно скачать бесплатно. Если материал и наш сайт презентаций Mypresentation Вам понравились – поделитесь им с друзьями с помощью социальных кнопок и добавьте в закладки в своем браузере.

Слайды и текст этой презентации


Слайд 1


Exercise session 1 11.09.2018 Sergey Ryabov
Описание слайда:
Exercise session 1 11.09.2018 Sergey Ryabov

Слайд 2


Are you ready? Do you have Android Studio installed? Have you created and ran your first project? If not yet, please, do exercise 0 first to set up...
Описание слайда:
Are you ready? Do you have Android Studio installed? Have you created and ran your first project? If not yet, please, do exercise 0 first to set up your environment Install Android Studio and have “Hello world” running on your phone:

Слайд 3


Overview We’ll create a simple app with two activities First activity with an EditText view and a “Preview” button The user enters a message into the...
Описание слайда:
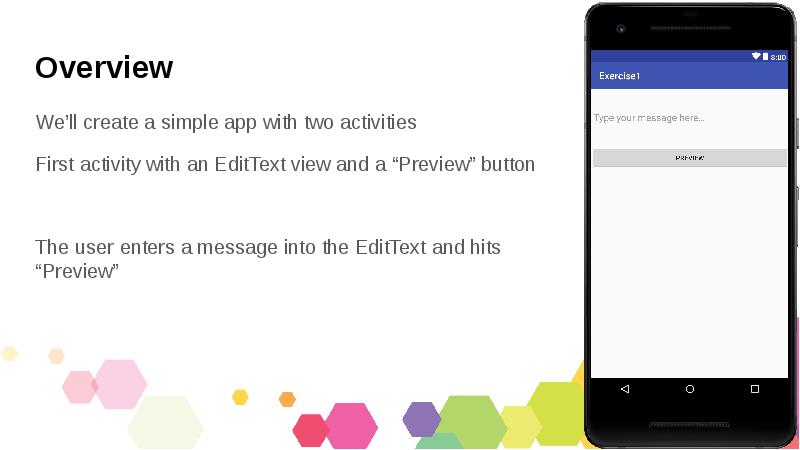
Overview We’ll create a simple app with two activities First activity with an EditText view and a “Preview” button The user enters a message into the EditText and hits “Preview”

Слайд 4


Overview This opens a second activity with “Email” button and a TextView that displays the message. You can check the text and if it’s good enough,...
Описание слайда:

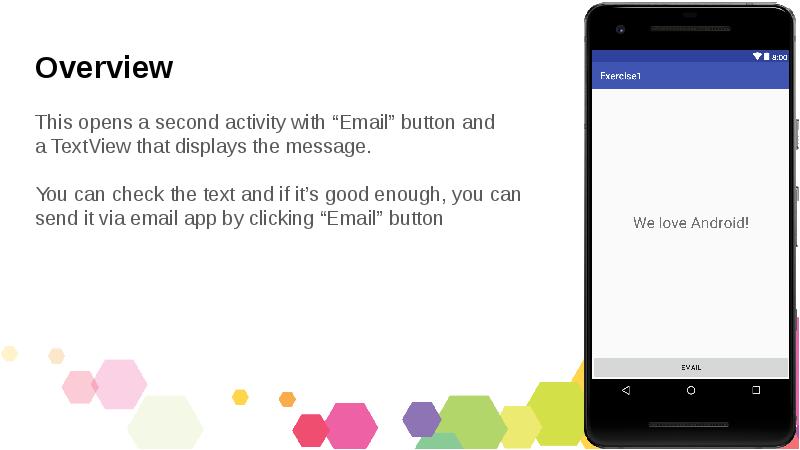
Overview This opens a second activity with “Email” button and a TextView that displays the message. You can check the text and if it’s good enough, you can send it via email app by clicking “Email” button

Слайд 5


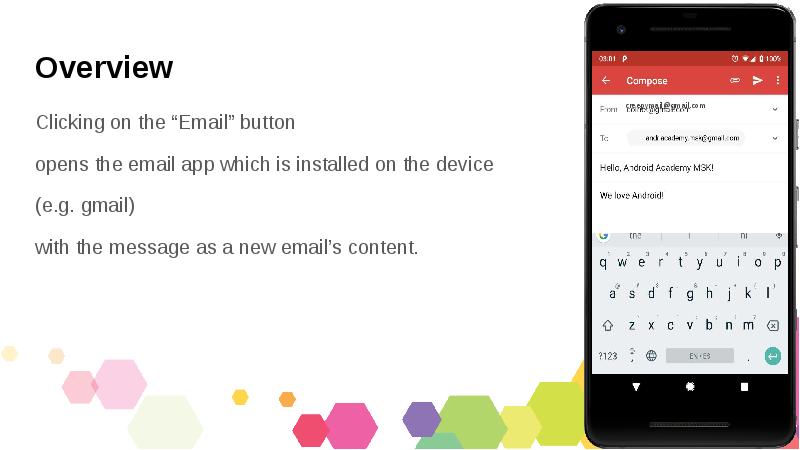
Overview Clicking on the “Email” button opens the email app which is installed on the device (e.g. gmail) with the message as a new email’s content.
Описание слайда:
Overview Clicking on the “Email” button opens the email app which is installed on the device (e.g. gmail) with the message as a new email’s content.

Слайд 6


Let’s Begin Solution will be available here: in one week, before the next lecture. Now it’s time for you to make progress!!
Описание слайда:
Let’s Begin Solution will be available here: in one week, before the next lecture. Now it’s time for you to make progress!!

Слайд 7


Step 1 - Create a new project For help go to the lecture slides:
Описание слайда:
Step 1 - Create a new project For help go to the lecture slides:

Слайд 8


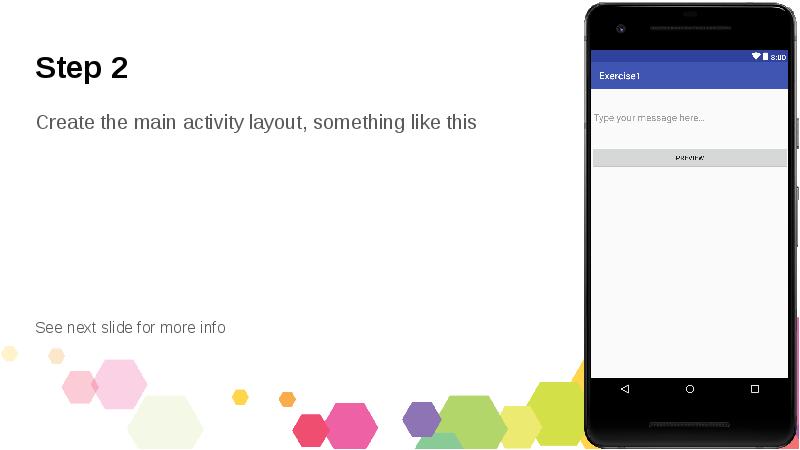
Step 2 Create the main activity layout, something like this See next slide for more info
Описание слайда:
Step 2 Create the main activity layout, something like this See next slide for more info

Слайд 9


About EditText EditText is a View that allows the user to enter text. When the user clicks on it, the keyboard opens. Using view attribute...
Описание слайда:
About EditText EditText is a View that allows the user to enter text. When the user clicks on it, the keyboard opens. Using view attribute “inputType”, you can indicate which keyboard should pop up (only numbers, all caps, email etc…) Documentation:

Слайд 10


About EditText “hint” attribute is the text that will be shown when no text was entered. To get the entered text dynamically at runtime use...
Описание слайда:
About EditText “hint” attribute is the text that will be shown when no text was entered. To get the entered text dynamically at runtime use editText.getText().toString().

Слайд 11


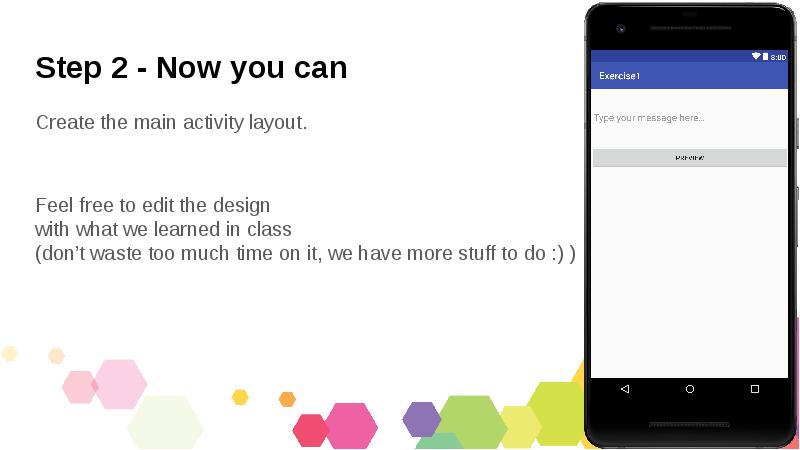
Step 2 - Now you can Create the main activity layout. Feel free to edit the design with what we learned in class (don’t waste too much time on it, we...
Описание слайда:
Step 2 - Now you can Create the main activity layout. Feel free to edit the design with what we learned in class (don’t waste too much time on it, we have more stuff to do :) )

Слайд 12


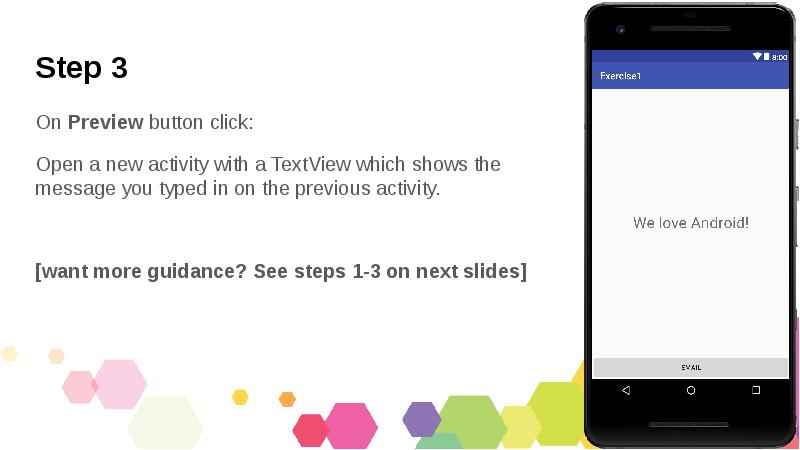
Step 3 On Preview button click: Open a new activity with a TextView which shows the message you typed in on the previous activity. [want more...
Описание слайда:
Step 3 On Preview button click: Open a new activity with a TextView which shows the message you typed in on the previous activity. [want more guidance? See steps 1-3 on next slides]

Слайд 13


Step 3 - steps[1/3] Create a new Activity class (Empty Activity) Edit the activity’s layout as needed
Описание слайда:
Step 3 - steps[1/3] Create a new Activity class (Empty Activity) Edit the activity’s layout as needed

Слайд 14


Step 3 - steps[2/3] 3. Set OnClickListener to your button and implement the code: Create an intent that starts the new activity and passes the text...
Описание слайда:
Step 3 - steps[2/3] 3. Set OnClickListener to your button and implement the code: Create an intent that starts the new activity and passes the text from the EditText through the intent’s extras, like in the lecture slides.

Слайд 15


Step 3 - steps[3/3] 4. On the second activity: get the message from the intent’s extras 5. On the second activity: show the message in the activity’s...
Описание слайда:
Step 3 - steps[3/3] 4. On the second activity: get the message from the intent’s extras 5. On the second activity: show the message in the activity’s TextView

Слайд 16


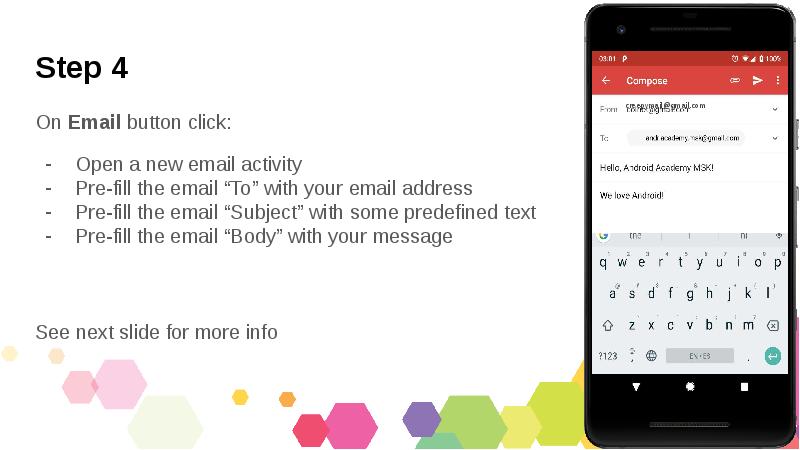
Step 4 On Email button click: Open a new email activity Pre-fill the email “To” with your email address Pre-fill the email “Subject” with some...
Описание слайда:
Step 4 On Email button click: Open a new email activity Pre-fill the email “To” with your email address Pre-fill the email “Subject” with some predefined text Pre-fill the email “Body” with your message See next slide for more info

Слайд 17


Open an Email App In the lecture we used an explicit intent to open a specific activity which we created and knew about. What happens when we want to...
Описание слайда:
Open an Email App In the lecture we used an explicit intent to open a specific activity which we created and knew about. What happens when we want to start just any activity that can perform our task? I.e. any activity that can send an email or take a photo or dial a number or navigate. We can use an implicit intent. We just tell what we want to do and Android will suggest the apps those can provide that functionality.

Слайд 18


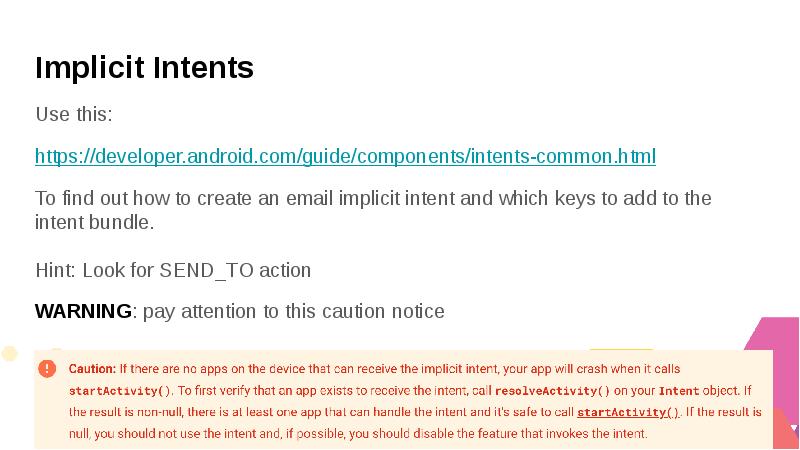
Implicit Intents Use this: To find out how to create an email implicit intent and which keys to add to the intent bundle. Hint: Look for SEND_TO...
Описание слайда:
Implicit Intents Use this: To find out how to create an email implicit intent and which keys to add to the intent bundle. Hint: Look for SEND_TO action WARNING: pay attention to this caution notice

Слайд 19


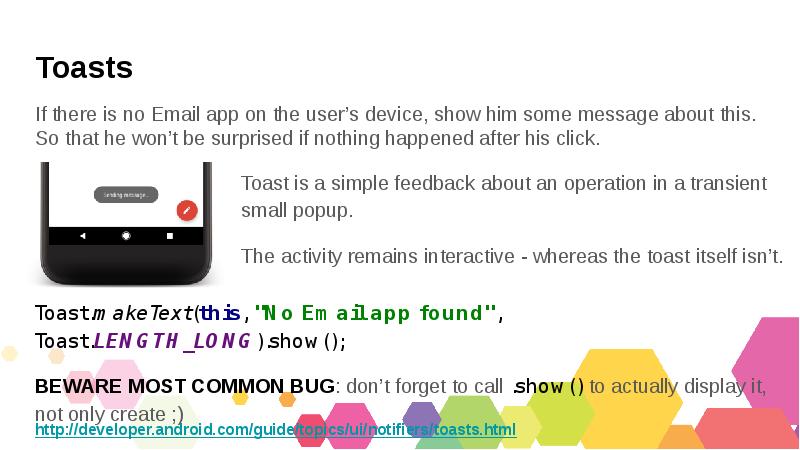
Toasts
Описание слайда:
Toasts

Слайд 20


DONE? That’s amazing! Great job!! But we have some bonus tasks if you wanna try. If you have even a small question - don’t forget to ask the mentors...
Описание слайда:
DONE? That’s amazing! Great job!! But we have some bonus tasks if you wanna try. If you have even a small question - don’t forget to ask the mentors in class or on Slack.

Слайд 21


Bonus Make sure your all of your strings and dimensions are not hardcoded in XML files, but rather are extracted to the corresponding resource XML...
Описание слайда:
Bonus Make sure your all of your strings and dimensions are not hardcoded in XML files, but rather are extracted to the corresponding resource XML files (strings.xml, dimens.xml) Create a different layout for landscape as we saw in the lecture. Make your app Russian (or other language) compatible. See next slide for details.

Слайд 22


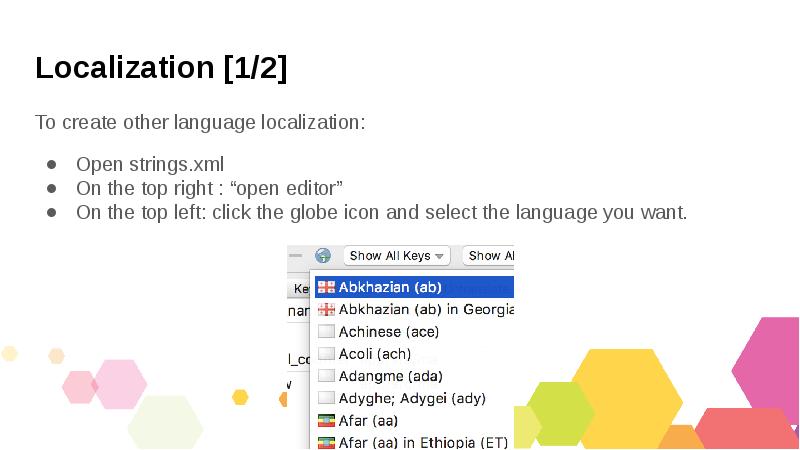
Localization [1/2] To create other language localization: Open strings.xml On the top right : “open editor” On the top left: click the globe icon and...
Описание слайда:
Localization [1/2] To create other language localization: Open strings.xml On the top right : “open editor” On the top left: click the globe icon and select the language you want.

Слайд 23


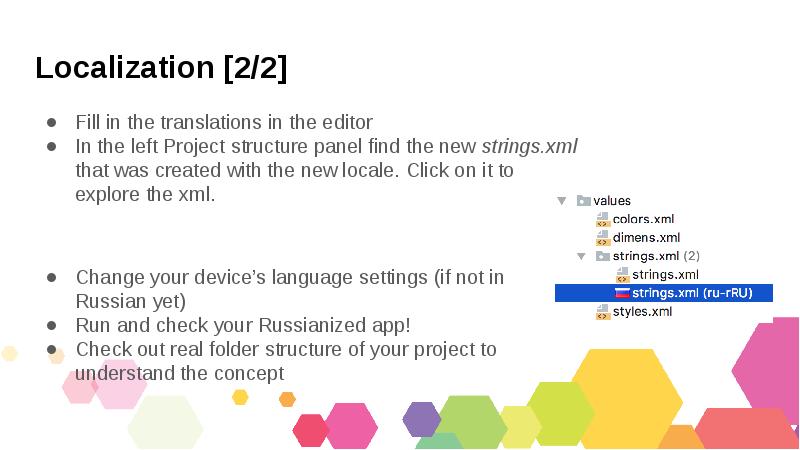
Localization [2/2] Fill in the translations in the editor In the left Project structure panel find the new strings.xml that was created with the new...
Описание слайда:
Localization [2/2] Fill in the translations in the editor In the left Project structure panel find the new strings.xml that was created with the new locale. Click on it to explore the xml. Change your device’s language settings (if not in Russian yet) Run and check your Russianized app! Check out real folder structure of your project to understand the concept

Слайд 24


Awesome! You’re all done with exercise 1! See you next time!
Описание слайда:
Awesome! You’re all done with exercise 1! See you next time!


Теги Exercise session
Похожие презентации
Mypresentation.ru
Загрузить презентацию